
Simplify making a phylogenetic tree using Edraw.AI with this step-by-step guide. Visualize relationships, customize templates, and use automated diagram features to make a phylogenetic tree in a snap.
In this article
We are all related and not just as humans. In fact, all living things can be traced back to a common ancestor. The only problem is that it’s impossible to travel back in time to see how species evolved and how they’re related to one another. That’s where phylogenetic trees come in.
A phylogenetic tree visually represents the evolutionary relationships between a group of organisms. Also known as the evolutionary or taxonomy tree, it helps readers understand where a species originates from and what makes it different from similar living organisms.
While an evolutionary tree is crucial in understanding evolutionary theory, drawing one can be challenging. From incomplete datasets and errors in interpretation to the computational complexity of the task, a lot of work goes into drawing a functional phylogenetic tree.
Therefore, what you need is an AI tool, like Edraw.AI, that understands your requirements in depth and delivers a solution quickly. In this article, we will discuss how to draw a phylogenetic tree with Edraw.AI and why it’s a reliable tool for complex diagrams. Let’s begin.
Draw a Phylogenetic Tree With Edraw.AI: A Beginner's Guide
Drawing a phylogenetic tree manually can be a taxing job. Thankfully, there’s an easier way to achieve the same result with Edraw.AI. By leveraging the power of AI, you can generate not just a taxonomy tree but various types of diagrams.
Here’s a step-by-step guide that will assist you in drawing a phylogenetic tree of life.
Step 1Sign Into Edraw.AI
Sign in/Sign up before using the website’s features. Click on Sign Up or Login in the top right corner. Enter your email address and password and press Log In. You can also sign into Edraw.AI using your existing Google and other social media accounts.

Step 2Open Tree Diagram Generator
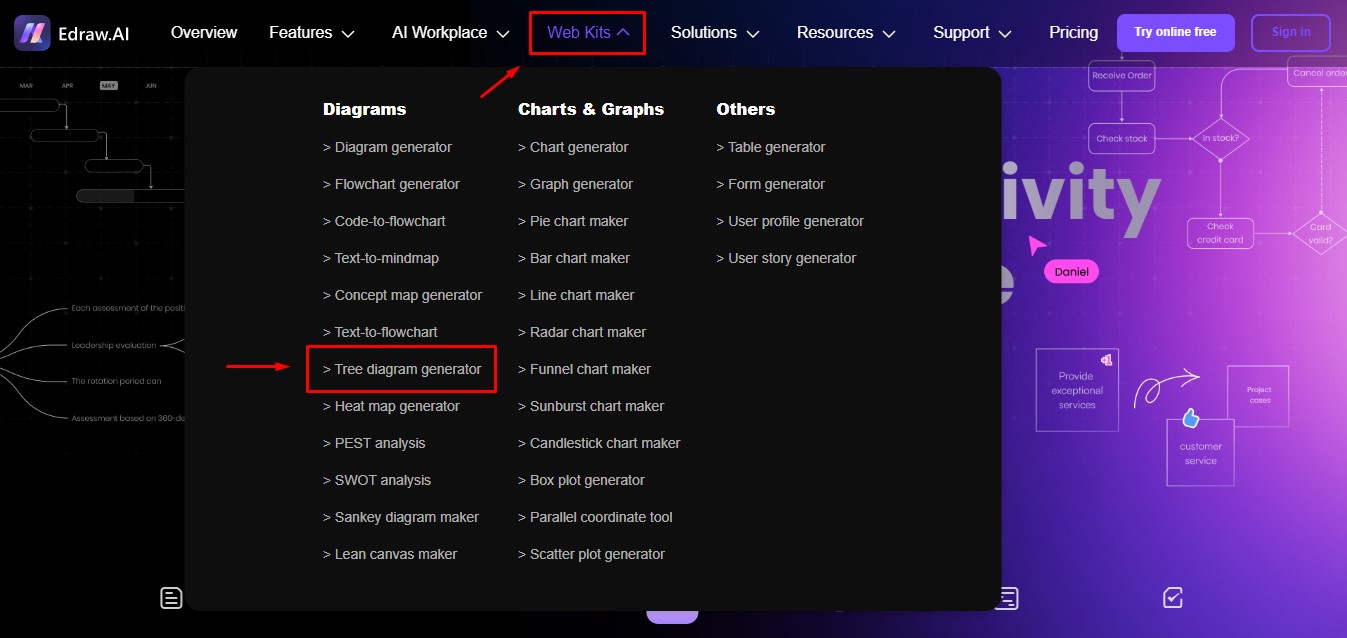
Whether you want to create a diagram from scratch, build on existing diagram templates, or generate a new one using prompts, you can do it all with Edraw.AI. Navigate to Web Kits and click Tree Diagram Generator to use AI features to draw a tree.
Step 3Insert A Diagram Topic
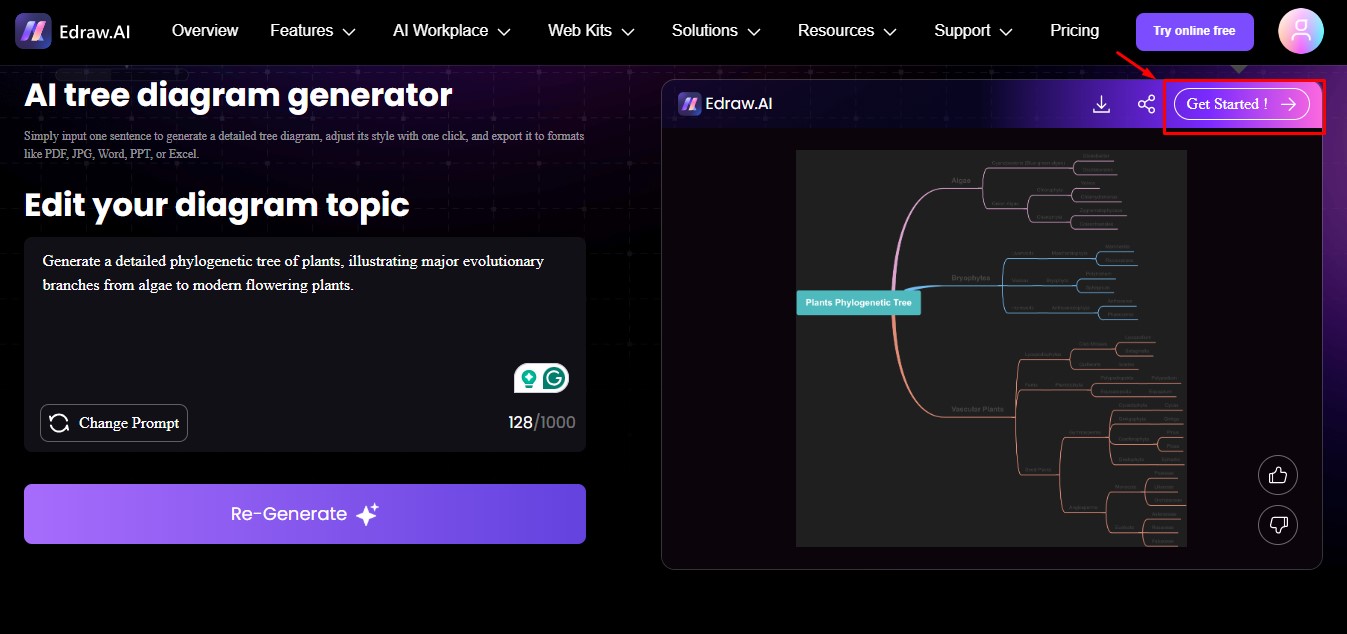
At this point, you should have a clear idea of the group of living organisms you want to represent and the type of phylogenetic tree you want to draw. Insert a detailed prompt under the heading Edit Your Diagram Topic.
Mention the group of species of interest and the complexity of the lineage you want to draw. Once you’re satisfied with the prompt, click on the Generate For Free tab.

Step 4Generate Phylogenetic Tree Diagram
Once the processing is complete, the phylogenetic tree diagram will appear on the right side of the screen. Click on the Get Started button on the top-right corner to access customization options.
Step 5Edit And Customize
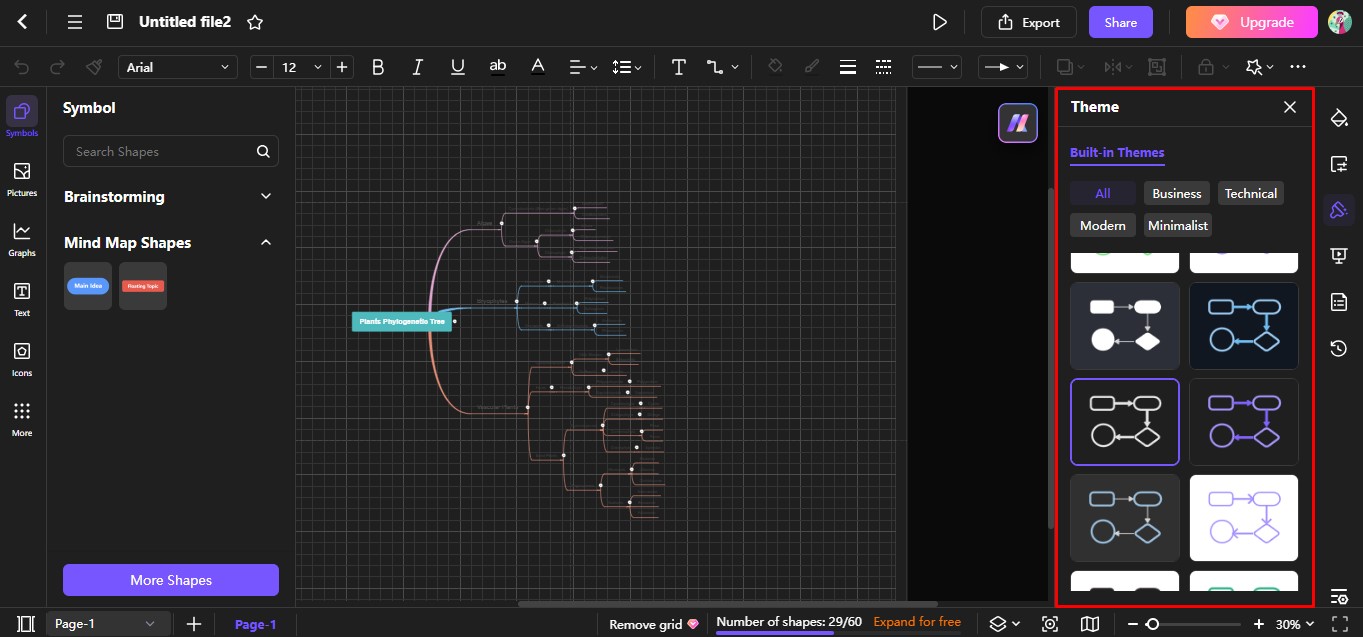
If you look at the right side of the editing panel, you will find different built-in themes that can be applied to your diagram. There are options ranging from Business, Technical, Modern, and Minimalist. We chose the theme Modern 2 for this phylo tree diagram.
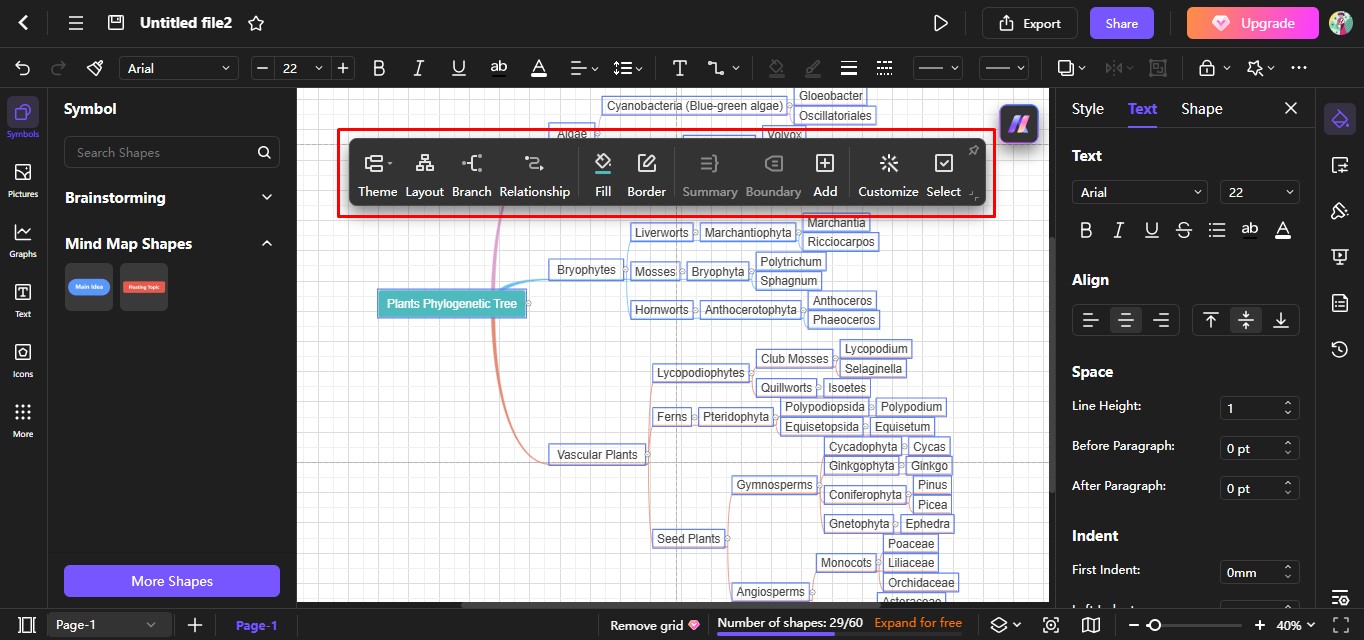
The top panel has different text editing options that you can explore. You can make the text more prominent by selecting the entire diagram and clicking Bold button. You can also increase the font size.

With this diagram generator, you can edit and customize even the smallest elements of your phylo tree. For example, an editing panel appears whenever you select an organism in the tree. This allows you to add more branches and create relationships between other organisms in the tree, among other customization options.
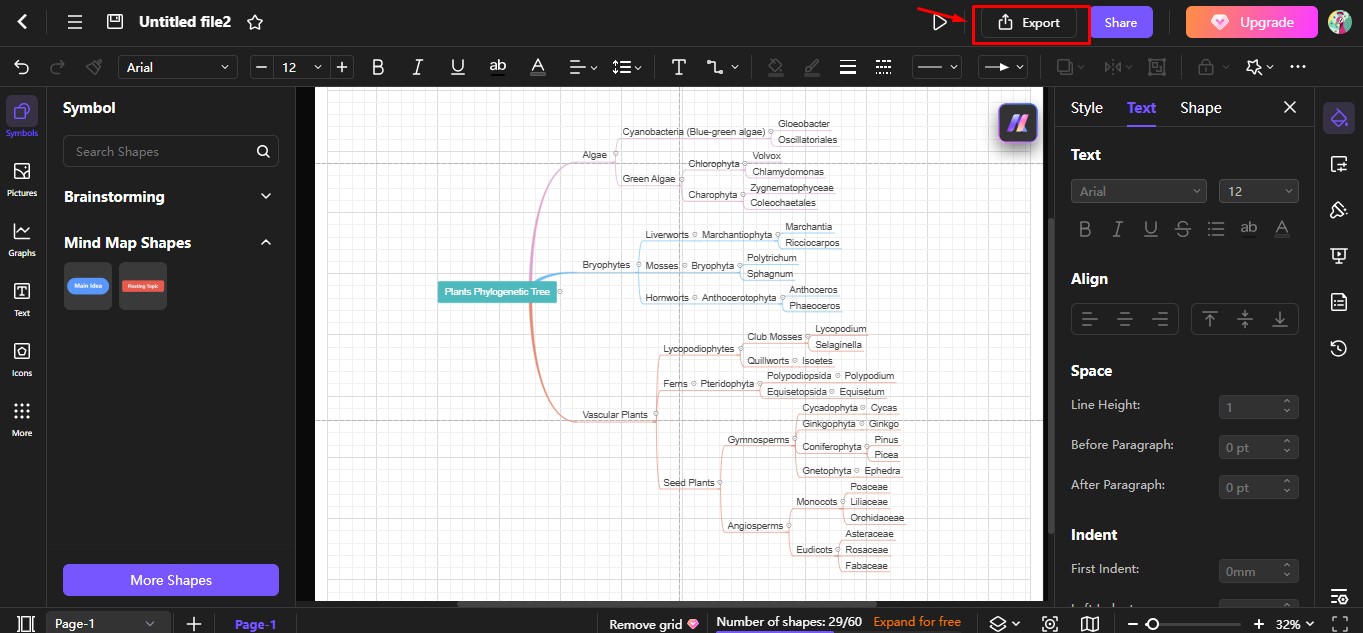
Step 6Export The Diagram
When you’re satisfied with your diagram, click on the Export button on the top-right of your screen.
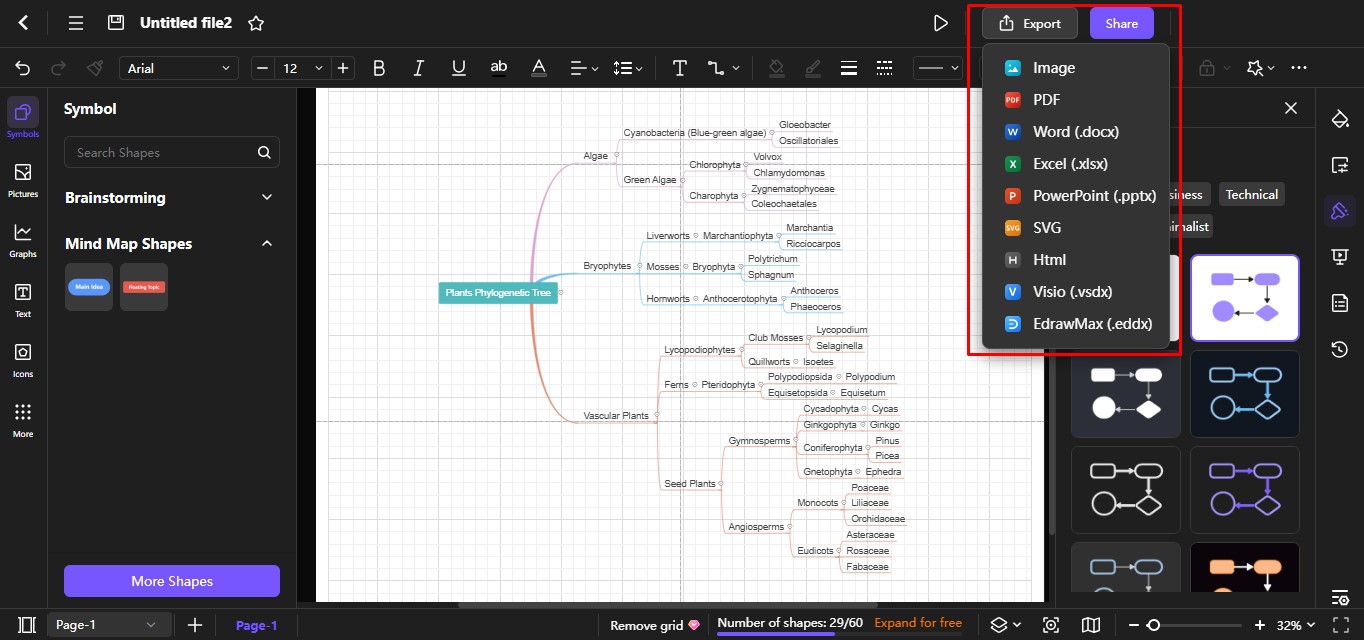
With Edraw.AI, you can export your diagram in various formats, like PDF, Word doc file, and PPT, etc. We exported the phylogenetic tree as an Image for this guide.
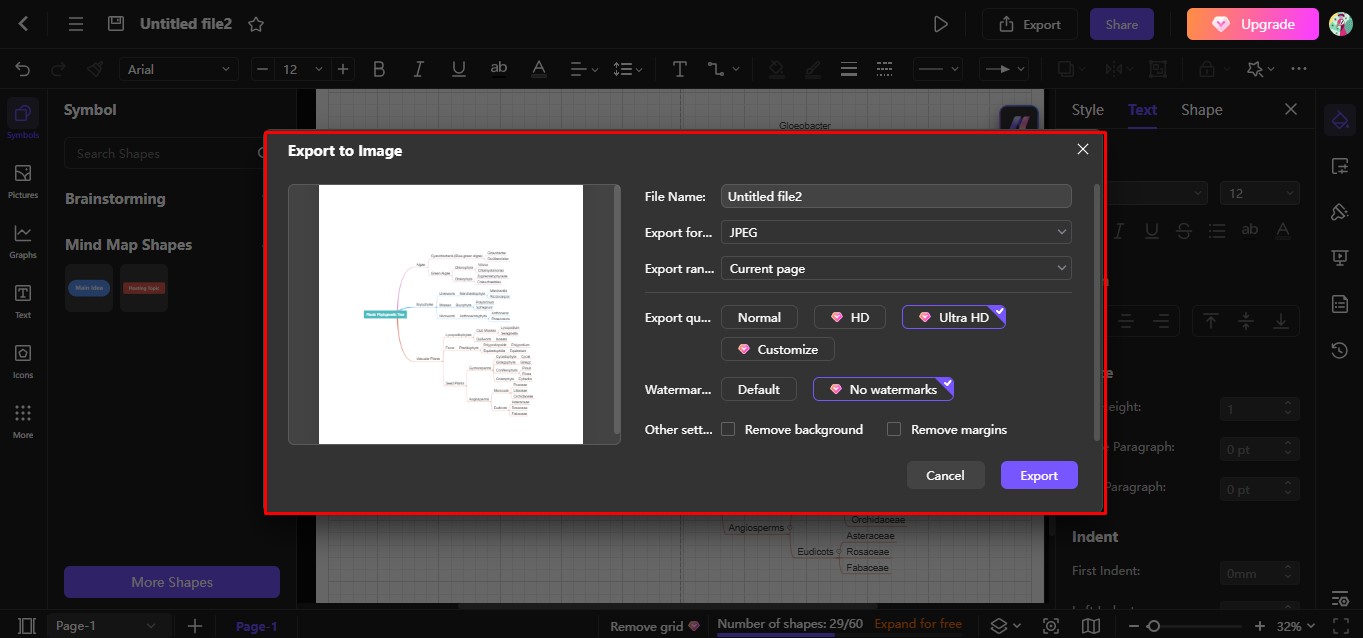
At this step, you can name your file and specify the export format, range, and quality you need. Once you have made your selection, click Export to download the image to your computer.
Tips for making a Phylogenetic Tree
Making a phylogenetic tree is not simple. The data collection requires hours of research and then making all these connections takes hours of effort. However, if you organize the making structure, it may speed up the drawing process. Here is the structure to follow:
Identify the Common Ancestor
Once you have decided on a set of living organisms whose evolution you want to present in the phylogenetic tree, identify their common ancestor, if any.
Group Organisms By Shared Features
The second step is to group organisms according to their shared features, both ancestral and derived. Ancestral traits are ones that originated directly from the common ancestor. Whereas derived traits are developed somewhere along a lineage from that ancestor.
Recognize Different Organisms
When you have identified a trait that’s shared by a large group of organisms, move on to the next trait, which is common in the second-largest group. Continue classifying all the organisms using the same pattern.
Distinguish Individual Traits
You will come across some derived traits that are not shared. While these won’t help us build the phylogenetic tree, you can always place them in a suitable position.
Types of Phylogenetic Trees
A phylogenetic tree is like an evolutionary map. It shows which species are related to one another through a common ancestor. However, there are different ways to represent lineage through drawings.
1. Rooted And Unrooted Trees
The most prominent difference between a rooted and an unrooted tree is that of a common ancestor. As the name suggests, a rooted tree is used to represent living organisms originating from a single ancestral lineage.
In the rooted tree, you will notice that the three domains originate from a single point but branch out to create different organisms. In contrast, the unrooted phylogenetic tree doesn’t show any common ancestors—only the relationship between the species.
2. Bifurcating And Multifurcating Trees
A bifurcating tree supports only two descendants arising from a source. In contrast, a multifurcating tree represents more than two descendants arising from an interior node.
3. Cladogram
This type of tree is used to show the branching pattern between species. The length of the branch does not signify time or evolutionary change.
4. Phylogram
In this drawing, the branch length represents the amount of evolutionary change an organism undergoes. However, it does not offer any time indications.
5. Chronogram
This diagram is the opposite of a phylogram. Here, the branches represent time, but their length is insignificant in terms of evolutionary change.
Why Edraw.AI for Making Phylogenetic Trees?
Edraw.AI is a feature-rich AI tool that makes transforming ideas into visual representations a breeze. With over 210 diagram types and 700 built-in templates, you can count on this tool to do most of the heavy lifting in time-consuming drawing tasks.
Edraw.AI allows you the freedom to create a diagram from scratch using built-in templates or generate one using text prompts. No matter which route you take, the possibilities for customization are endless, ensuring that the final result exceeds your expectations.
Although there are other drawing tools in the market, this one guides you throughout the process, from brainstorming and file analysis to presentation and diagramming. It is an all-in-one visual collaboration platform that enables you to work smarter, not harder.
Here are a few standout features of Edraw.AI.
- A vast library of editable templates makes phylogenetic trees easy to make.
- Converts text into diagrams quickly and accurately.
- Supports team collaboration.
- Offers a large suite of customization options, including themes, colors, layouts, shapes, and icons.
- Allows diagrams to be exported in over 9 formats.
- Multiple import options to support cross-platform use.
Wrapping It Up
Making a phylogenetic tree can be a challenging task, especially if you’re working with a large data set. Collecting and organizing the data is already tedious, and if you add diagram-making to the mix, you can expect to spend hours on a single phylo tree diagram.
Fortunately, Edraw.AI offers an easier solution that cuts the time you spend on the diagram by 80%. Drawing a phylogenetic tree was never this easy!