A free body is considered to be a body that is separated from its surroundings. The free-body diagram shows how different forces act on the free body while moving in various scenarios. These types of diagrams represent the motion and equilibrium of the body with respect to the environment. Normal force, gravitational force, drag force, and frictional force are a few of the forces that come into the equation while using the free body concept.
In this article
In this guide, we are going to draw a free-body diagram in different ways. Let's get started!
How do you draw free-body diagrams on Edraw.AI?
Edraw.AI is an AI-powered tool designed to draw diagrams, mind maps, and other visual content. The tool takes care of the given prompts to make the visual appeal of the diagram better in a few clicks. Here are a few of the main features of Edraw.AI.
Key Features
- Advanced AI Models: Edraw.AI uses advanced AI models to make high-quality designs with the help of simple prompts from the users.
- Variety of Designs: There are multiple types of designs, flowcharts, and mind maps that are made through Edraw.AI.
- Templates Library: The vast template library allows you to use premade templates to work with and convert the given designs to your own designs.
Now, let’s check out how to make your designs in the tool.
Method 1: Create from Scratch
Creating a free-body diagram from scratch with the help of Edraw.AI is simple. Follow the steps below to make a perfect design.
Step 1Open the tool
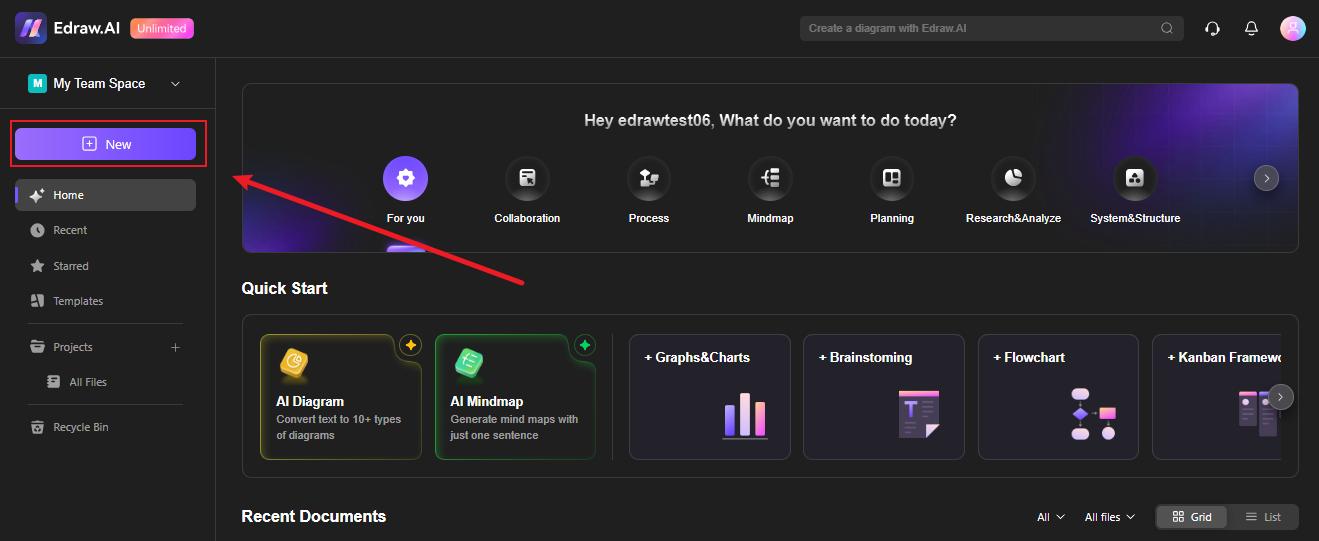
Open Edraw.AI and visit the homepage. You can log in with social media credentials. Click the New icon
Alternatively, you can create work inside the diagram editor of Edraw.AI, which provides more professional diagramming functions.
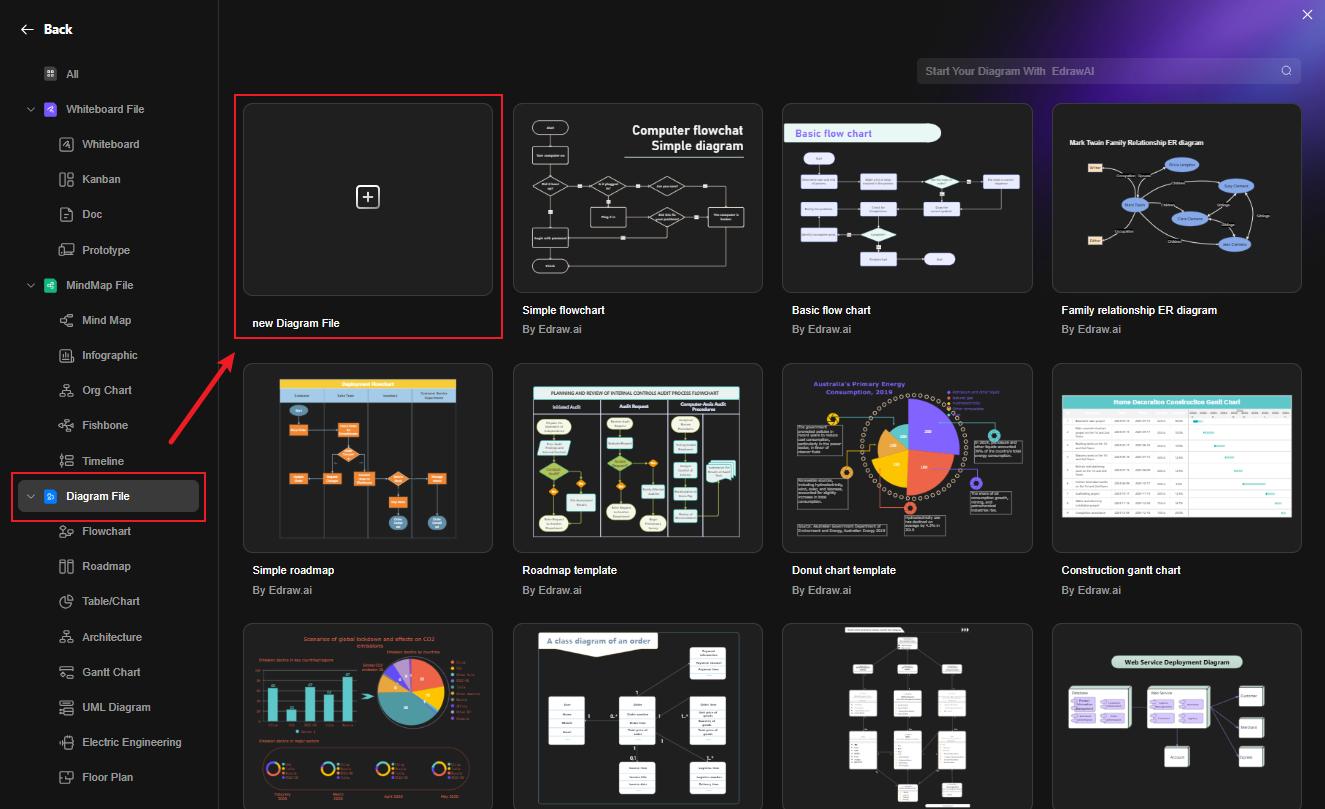
Now you have two options. You can choose to create the diagram on whiteboard, which supports real-time collaboration.

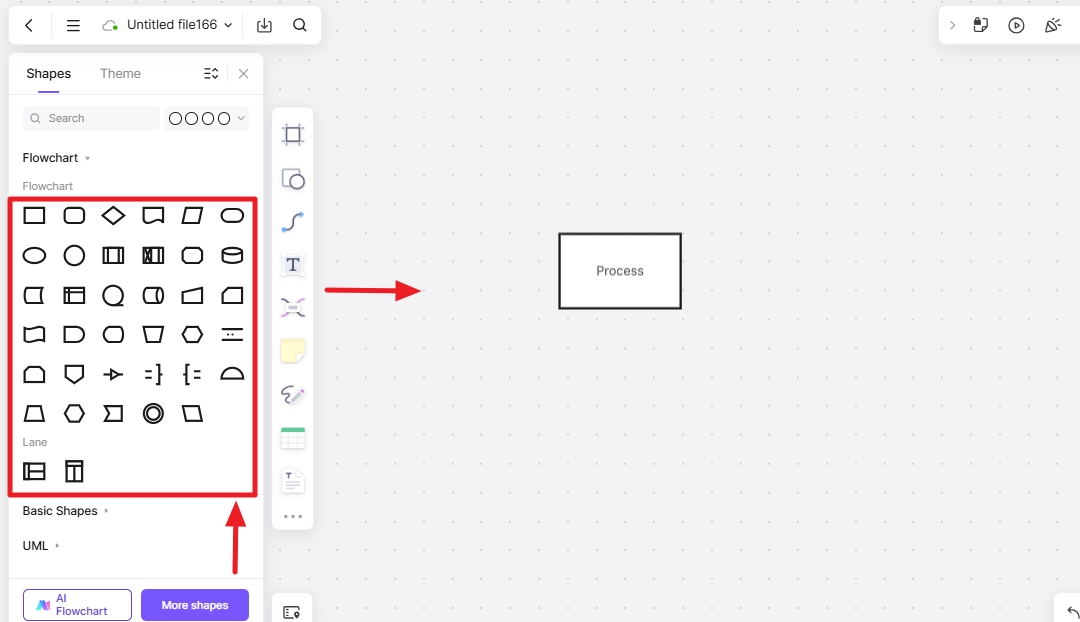
Step 2Drag elements on the canvas
Add elements and all the required symbols on the canvas to work with.
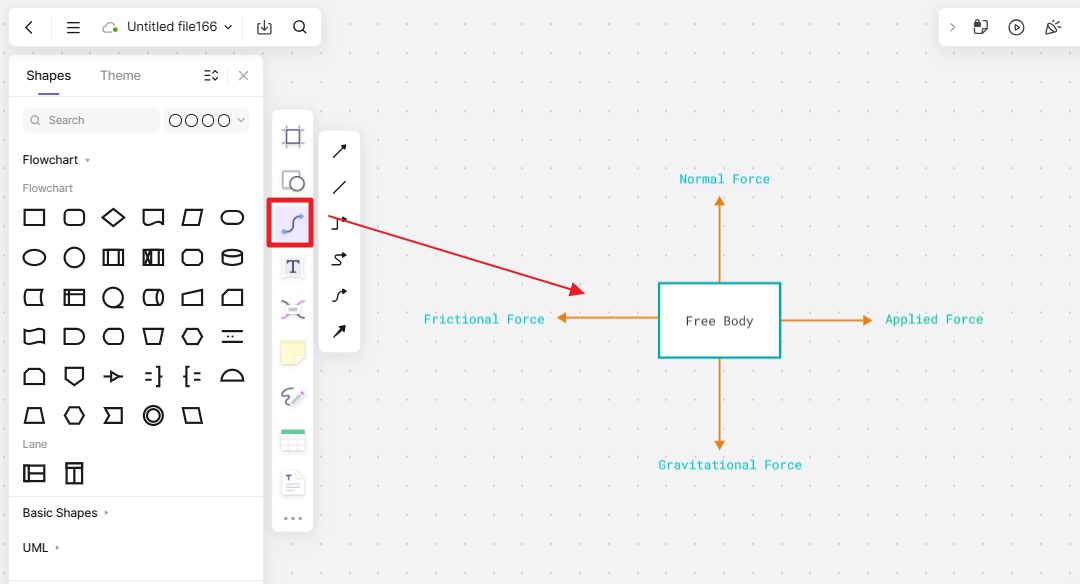
Step 3Establish a Connection among the elements
Add connectors to the elements placed in the diagram. Make sure to place them correctly so that they can align with the whole design.
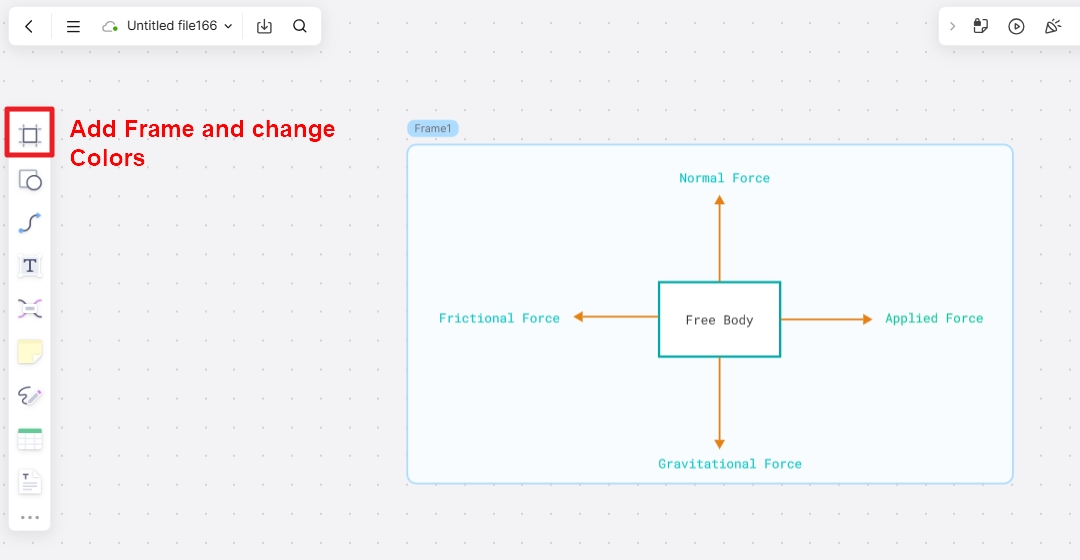
Step 4Add frames
Add texts and frames in the diagram to make changes in the backgrounds. You can adjust the color and font sizes here as well.
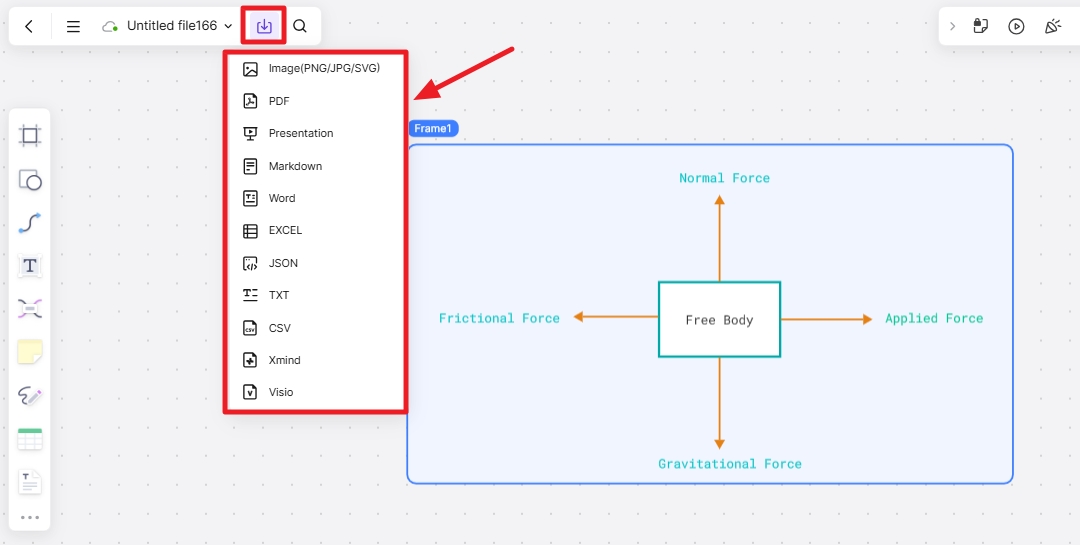
Step 5Export your file
Now, your design is ready to use. Export it in the desired format.
Free-Body Diagram Examples
There are different scenarios where we consider the free body diagrams under different forces and conditions. Here are a few examples of designs that are different from each other.
Example 1
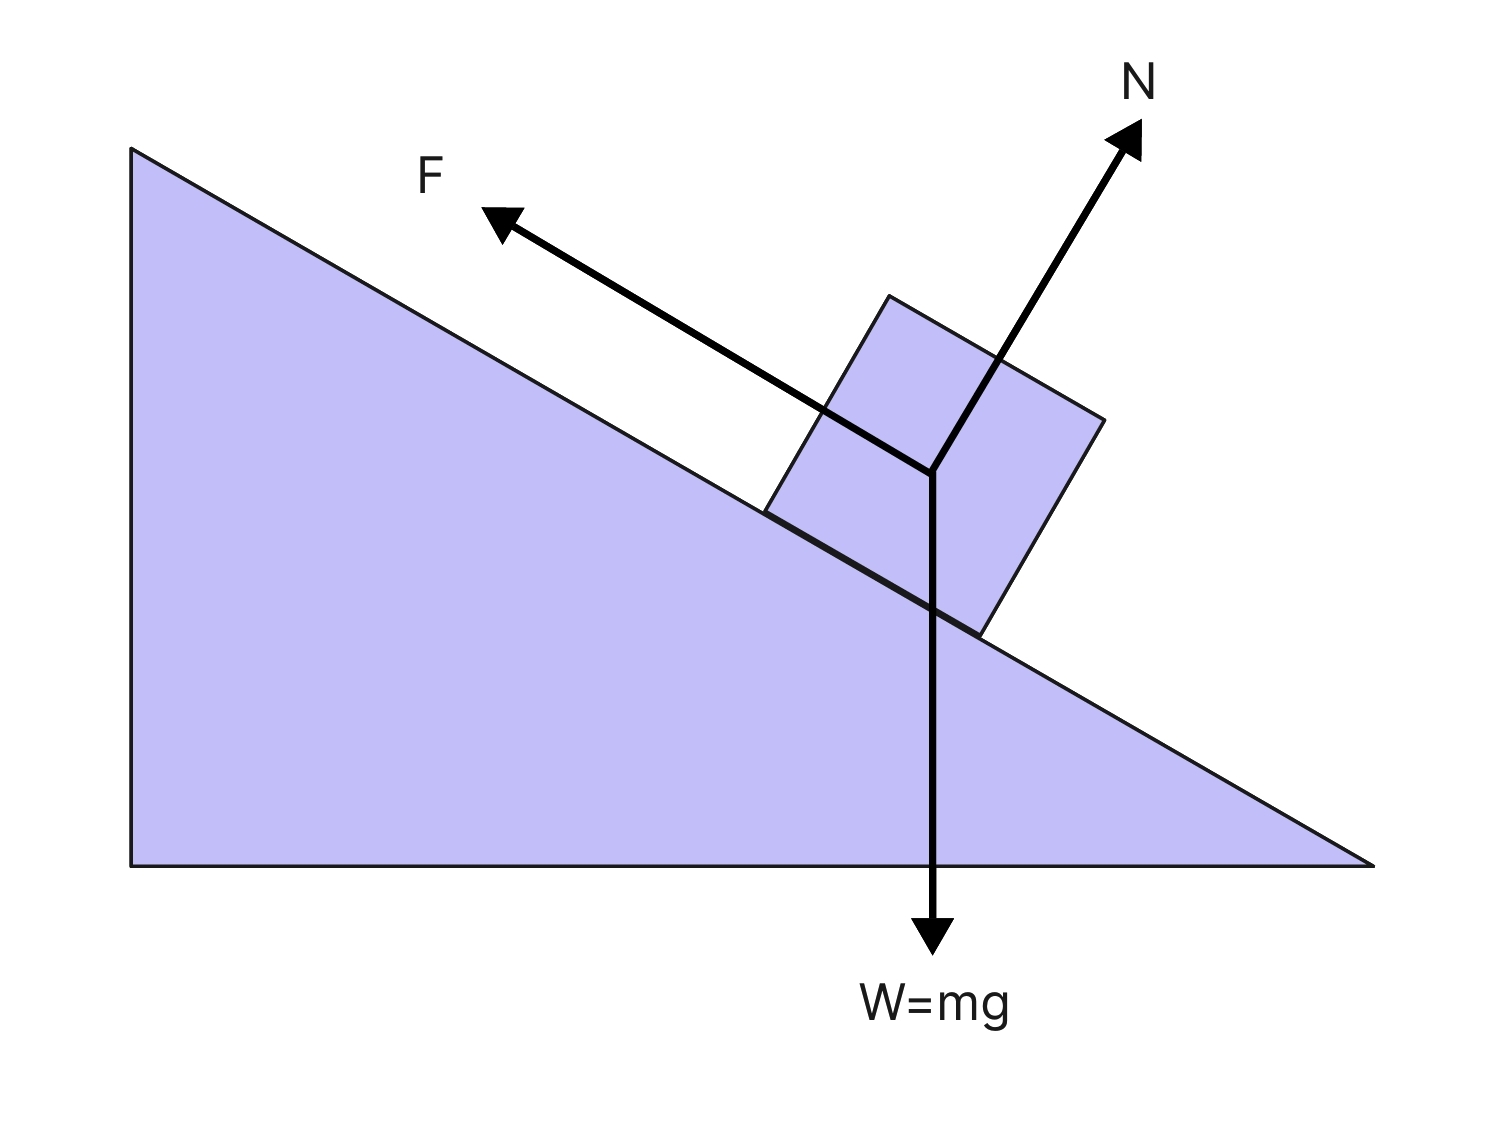
An object moving on an inclined slope is considered to be a free body. The block or free body continues to move through the slope until it is stopped by an external force.
There are a few of the forces that act on that body, which include W=mg, which is the weight of the body, reaction force, applied force, and gravity.
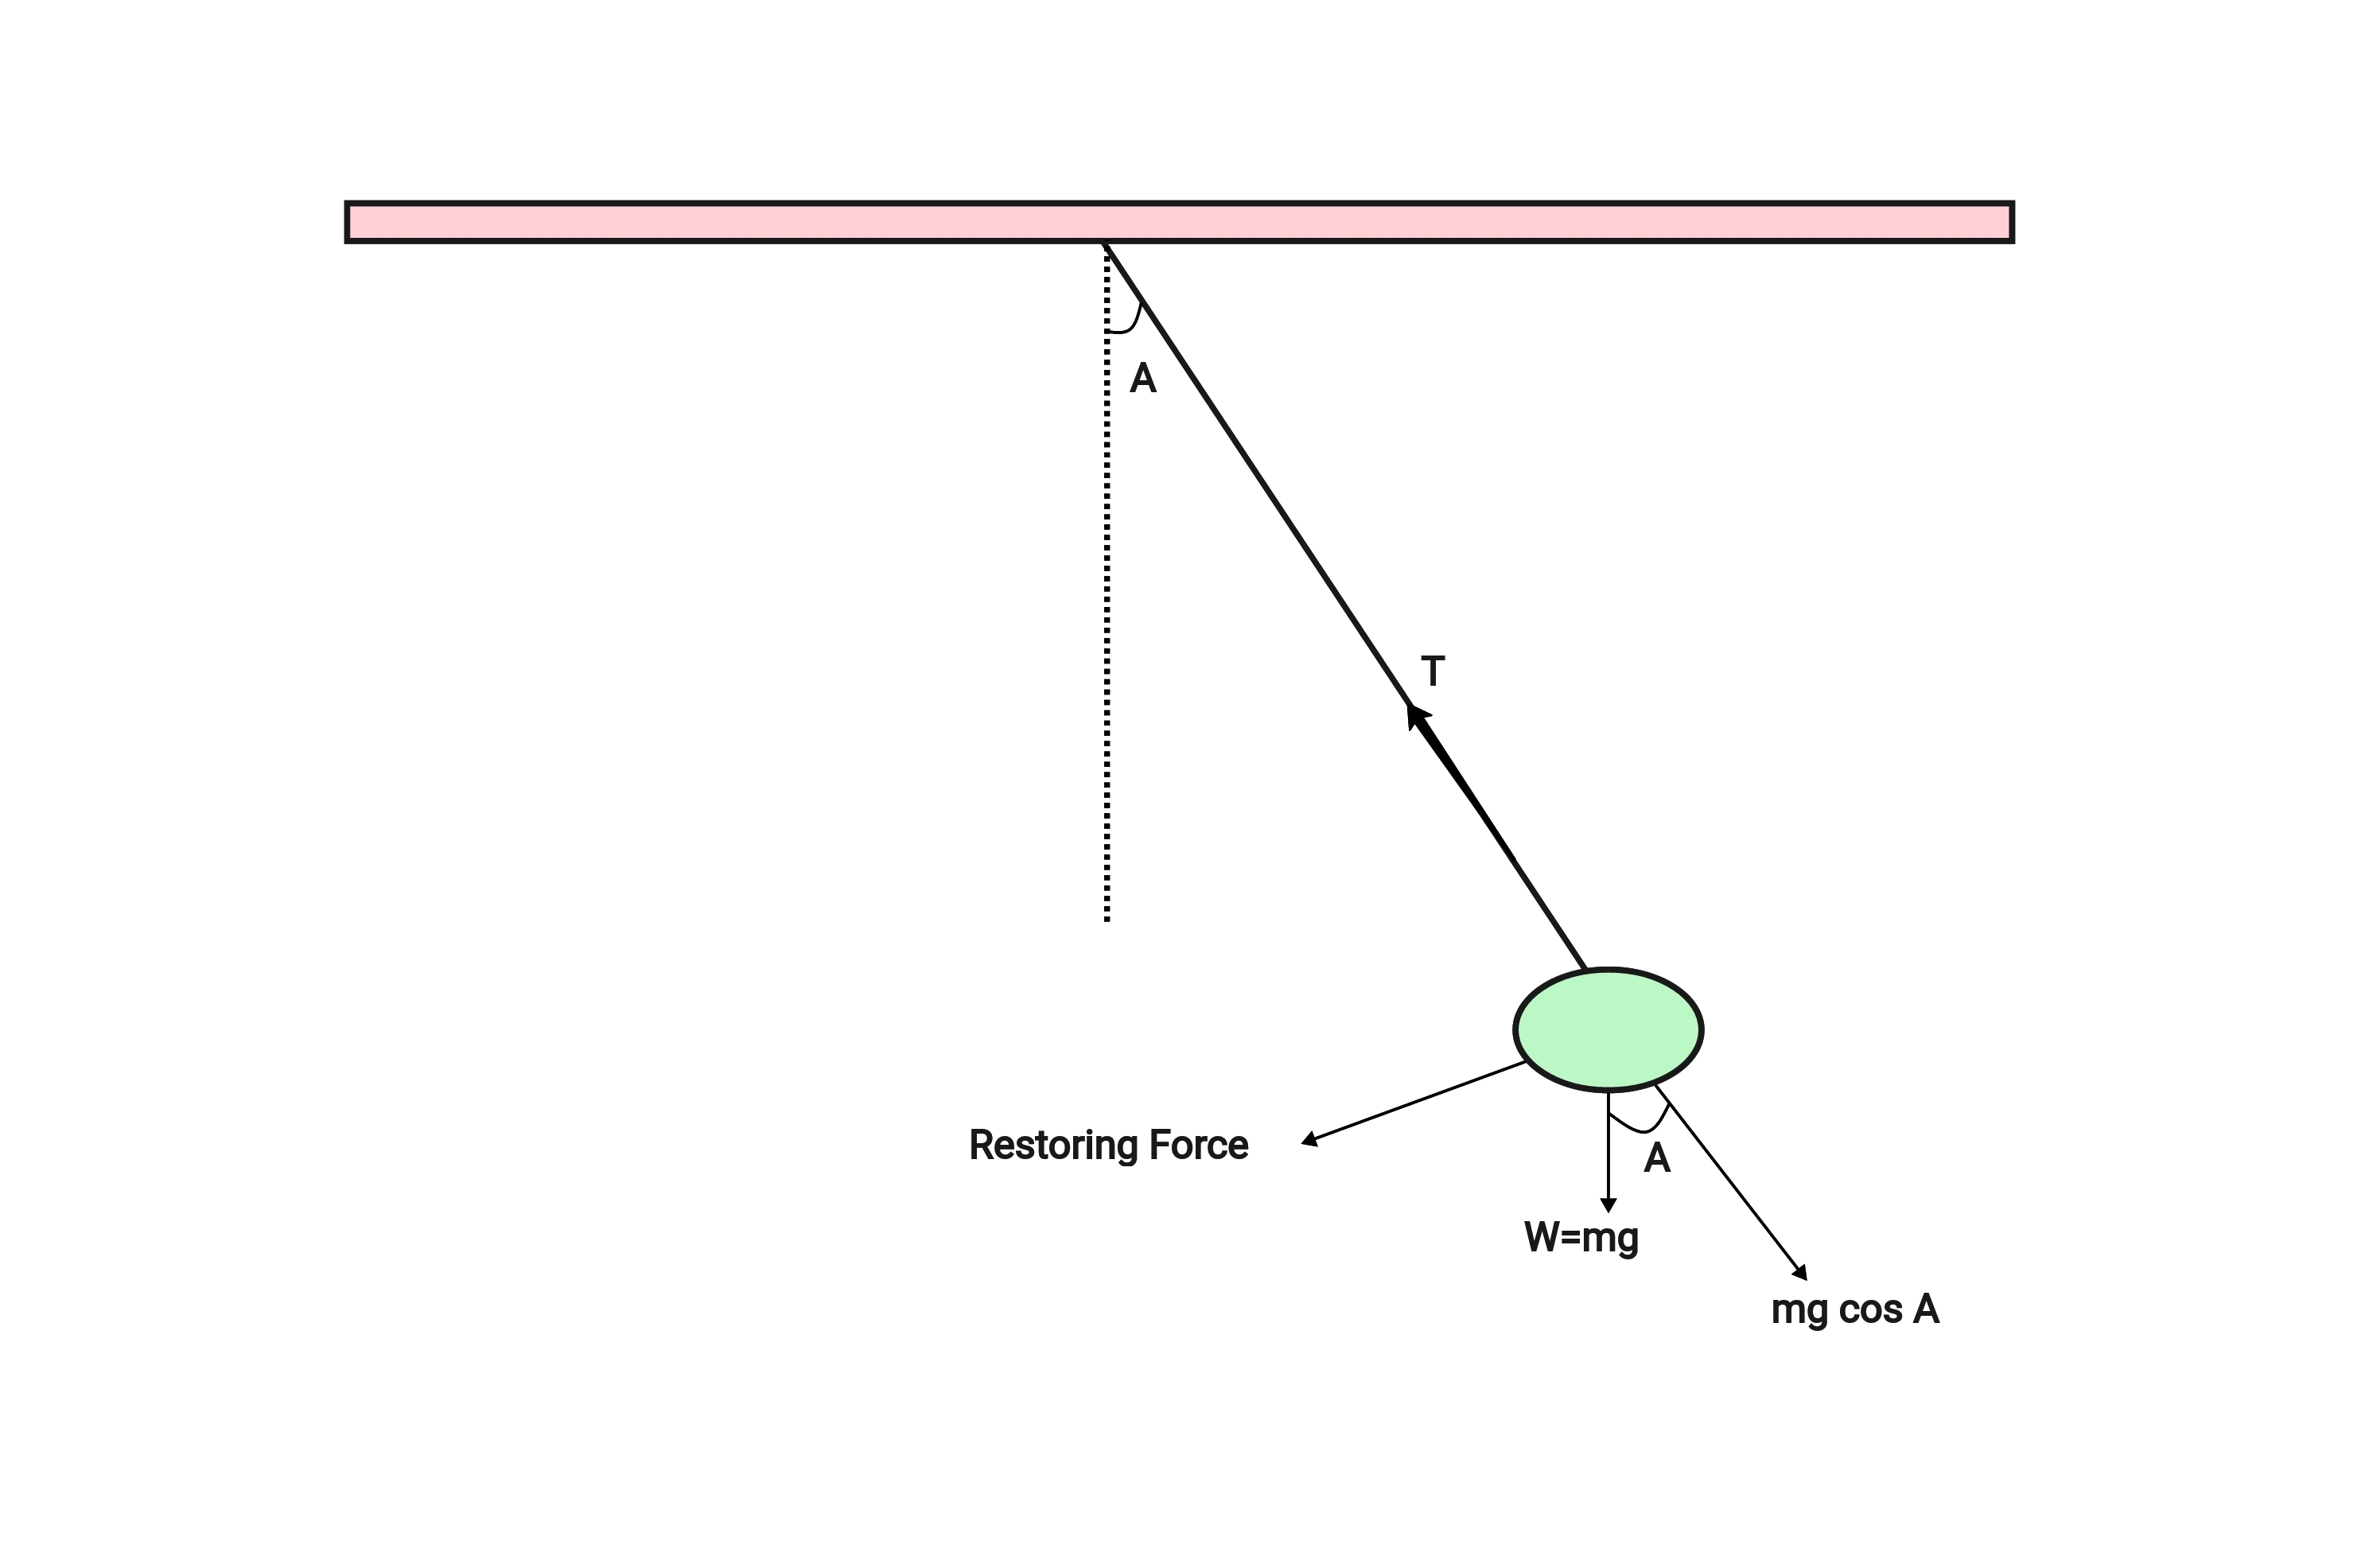
Example 2
A pendulum connected to the fixed rope moving from one point to the other is an example of a free body. The diagram shows how forces act on the ball connected to the rope. The main force that plays a major role in it from the moment is called the restoring force.
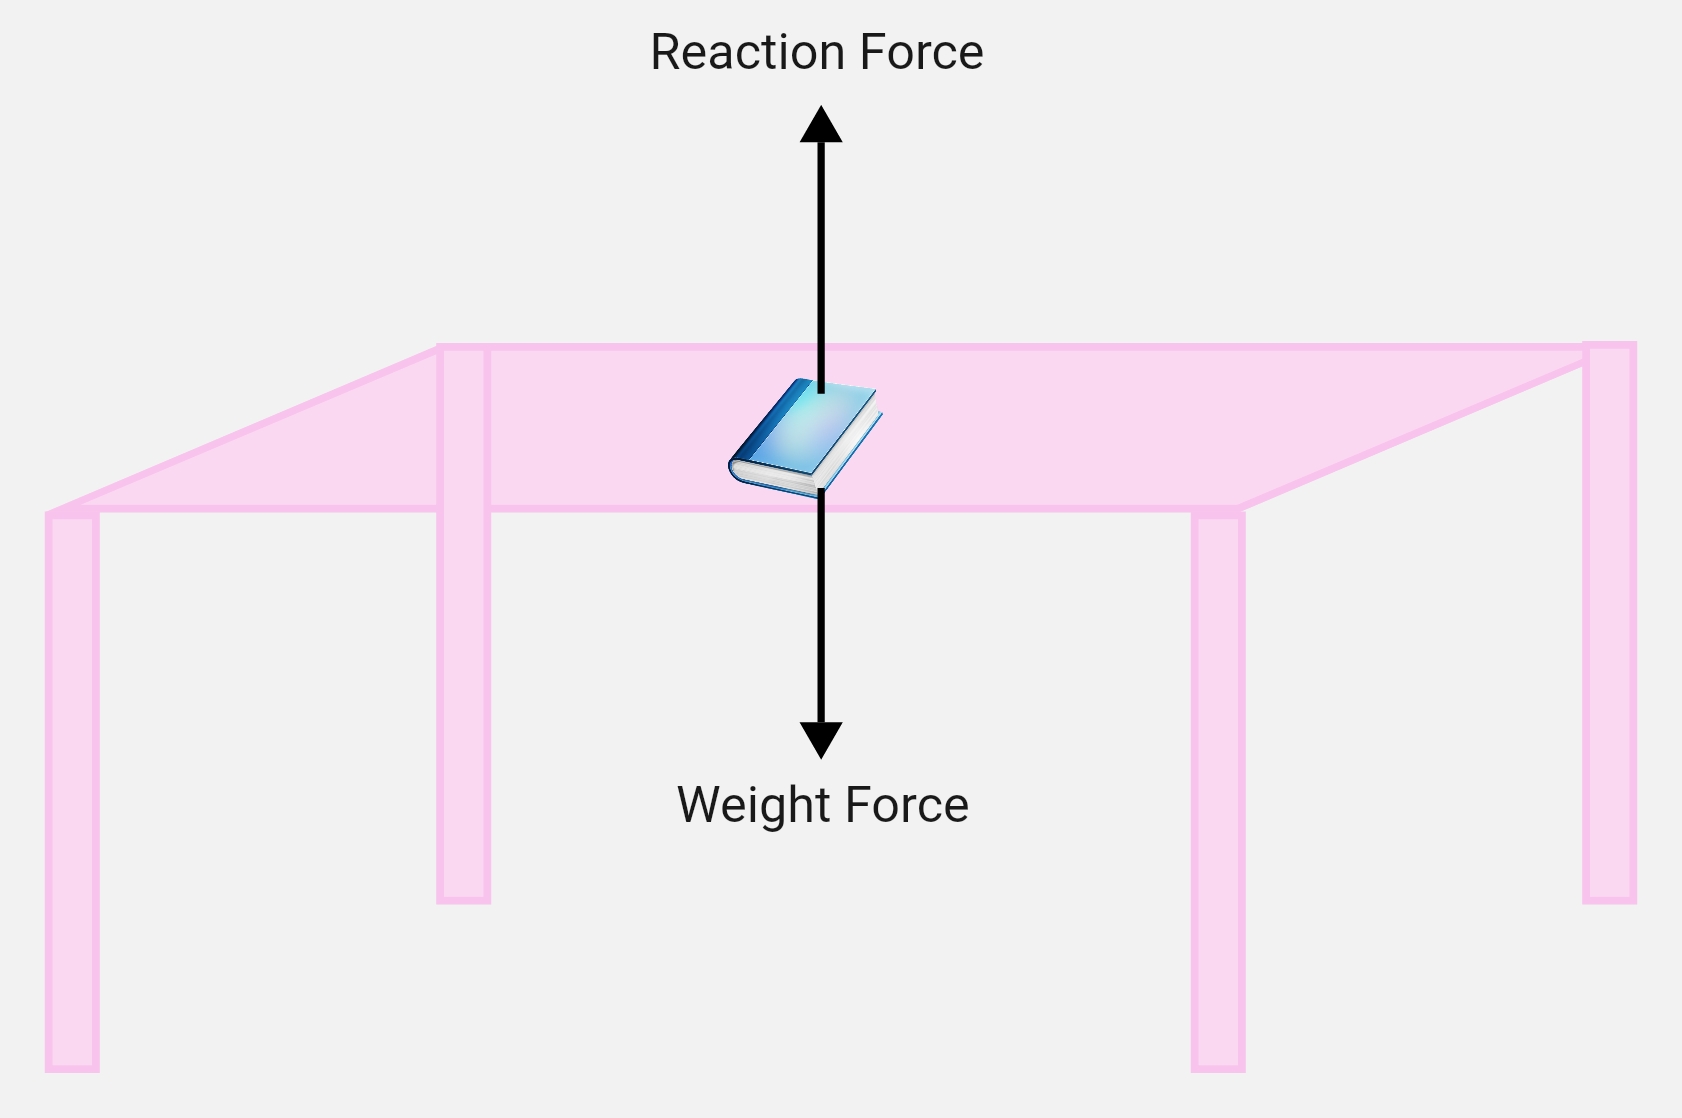
Example 3
A book lying on the table is another perfect example of a free body. It feels like there is no force involved, as the book doesn't move. However, there are forces acting in the book; one is the weight force having a downward direction and the reaction force having an upward direction.
Tips for Making Free Body Diagrams
There are multiple tips you need to keep in mind while drawing the free-body diagrams. Let's check them out.
- Identification of the main object is quite important. The object should be clear to view and should be in the form of a box, ball, or even a dot. This creates a great impression.
- Make use of the colors and add text in Edraw.AI as much as possible to clear concepts.
- Always highlight the point of interest, which is the main object. Focus on the external forces acting on the body more than the forces exerted on the surroundings by the object.
- Make use of the sticky notes to highlight the major concepts, and don't forget to label all the important points in the design.
- If you are starting with the help of templates, make sure to pick the one that best fits your needs.
Conclusion
A free body diagram tells us all the concepts and physics behind a system. The visual representation clears all the misconceptions and helps readers understand the system quickly.
Edraw.AI helps you while making such a design, as it has all the tools that are needed to make a perfect free-body diagram. Try it now to engage your audience and help them understand the complex systems.